Creating a realistic chalk effect in Photoshop can be a bit challenging. While there are certainly some filters, plug-ins, and other completely digital techniques to help you achieve the effect you want, you can often achieve a more realistic effect using real-life pencil and paper. In this tutorial, I will show you how to apply a chalk effect to an illustration in Photoshop. This technique can be used on anything from a typographic illustration to a logo. Let's get started!
Tutorial Assets
You will need the following assets to complete this tutorial. The Line Art and Sketch have been provided if you want to skip those steps. You can download the Chalk Board Texture from Photodune, but feel free to use an alternate image.
1. Prepare Line Art
Step 1
The first step is to physically print out the artwork that you want to use. In this example, I used a logo that I created for this tutorial.

Step 2
Once you have printed your artwork, lay a second piece of paper on top of it and trace the artwork using a pencil. Trace as accurately as possible but make sure it looks as sketchy as you want it to look (see below).
Use a regular mechanical pencil for this step. You might want to also experiment with other types of media, as well.

Step 3
Once you have traced your logo, scan it in to Photoshop. Now apply a levels adjustment to it to boost the whites and give it better contrast. This will also help to clean up any unintentional smudges of blips. I use the settings below for the homemade noodles logo sketch


2. Apply Effects in Photoshop
Step 1
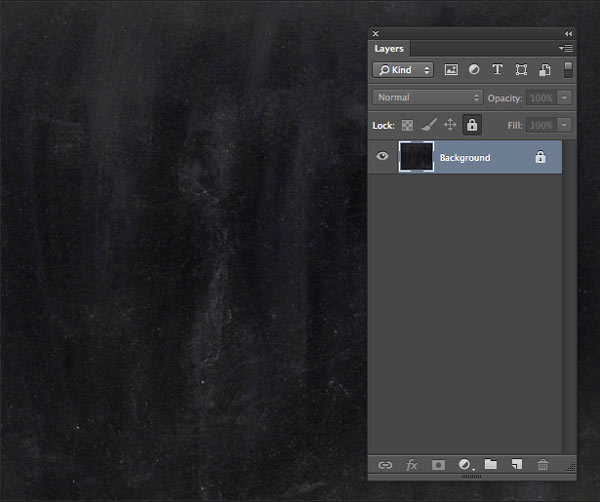
Now, we are ready to bring everything together in Photoshop. Start by creating a new document in Photoshop. This document is 1200px by 1000px, 200 dpi, RGB but feel free to use any settings you need for your project. Use the chalkboard texture as your background layer.

Step 2
Add a slight vignette to your image to add a bit of depth. To do this, make a new layer above your chalkboard background. In that layer, simply use a soft brush and paint a dark gray around the edges as seen below. Change the blending mode of this layer to multiply and adjust the opacity to achieve the amount of darkness you desire.

Step 3
Now place your sketch into the document on top of all other layers.

With your new logo sketch layer selected, press Command/Ctrl-I or go to Images >Adjustments > Invert. This will invert the image so that your logo sketch is now white on black.

At this point the background of the sketch logo image is showing. Under the Layers Panel, while still having the layer selected, change the blending mode to "Screen." This will cause only the white sketch to show.

Step 4
To add color to the chalk, we will apply a Hue/Saturation Adjustment layer to the logo sketch layer. Do so by clicking on the Adjustment Layer button at the bottom of theLayers Panel, as seen below

The Hue/Saturation options will open in the Properties Panel. Below are the settings used for coloring the chalk blue, as shown.

Now we will need to apply a Clipping Mask so that the adjustment layer only affects the color of the artwork, and not the background or vignette. You can add a Clipping Mask in several ways. In this step, we will add a Clipping Mask by selecting the layer, and then clicking the fly out menu in the Layers Panel, as shown.
Tip: You can also create a Clipping Mask by pressing Alt/Option and clicking between the two layers in the Layers Panel.

Conclusion
In this tutorial, I showed you how to apply a chalk effect to a logo or text effect. The result, it an extremely realistic effect that can be applied to just about any existing line work. I hope that you have enjoyed this tutorial and can use the techniques to create something really amazing on your own.


No comments:
Post a Comment