Today, I’m going to show you how use custom brushes, shapes and Layer styles in Photoshop CS6 to create eye catching Valentine’s Day background. Layered PSD file included. Let’s get started!
Final Image Preview

Start working by creating a new document (Ctrl+N) in Adobe Photoshop CS6 with the size 1000px by 1000px (RGB color mode) at a resolution of 72 pixels/inch. Use the Paint Bucket Tool (G) to fill with #FFCB92 color the new background layer.

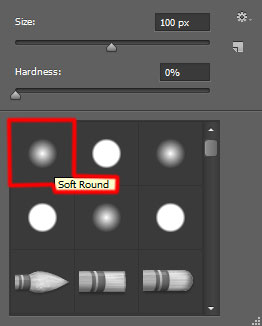
Create a new layer and select the Soft Round brush from Brush Tool (B).

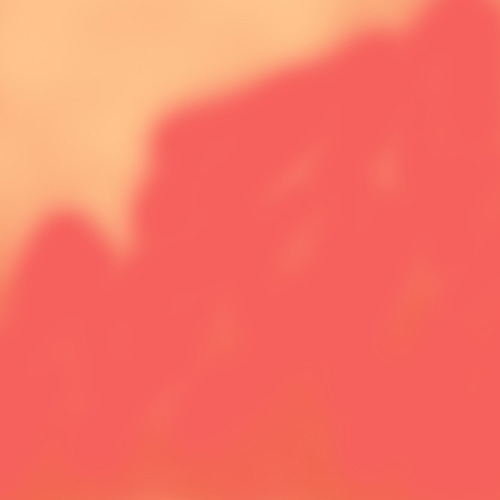
Use this brush to paint the canvas with the color #F16A50 as shown:

On the same layer we’ll insert the mask by choosing Add layer mask on the bottom part of the Layers panel . Then choose the Soft Round brush of black color (set Opacity to 20% in Options bar). Paint in the mask using the same brush as we did in the previous example to hide out the next zones on layer as it is demonstrated below.

Next we’ll add a new layer (Create new layer) again and select the Soft Round brush.

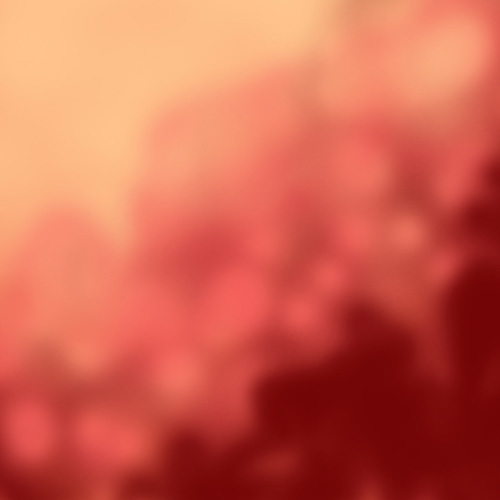
Use this brush to paint the background with the color #F6615D.
Insert the mask on the same layer the same way described above and choose the Soft Round brush of black color (brush Opacity – 15%), paint in the mask to hide out the next zones on layer the same way from next picture, using the brush mentioned previously.

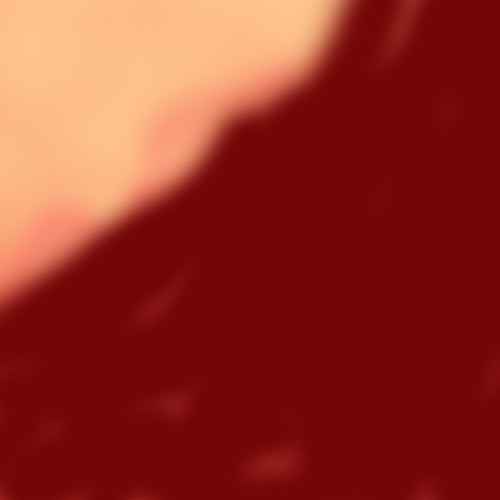
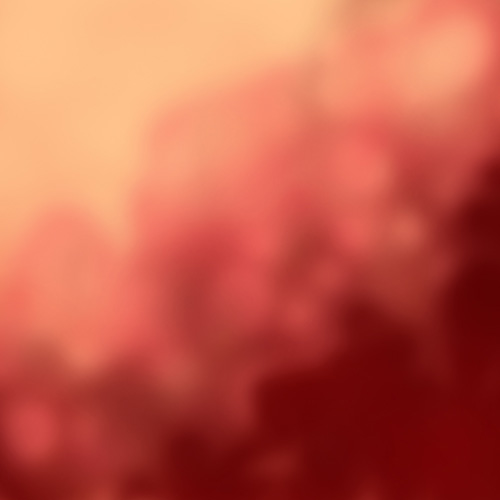
Create a new layer and select the Soft Round brush to paint the background as on the picture below. The brush’s color is #730506.
Insert the mask on the layer by choosing Add layer mask on the bottom part of the Layers panel and select the Soft Round brush of black color (brush Opacity – 50%).
Paint in the mask using this brush to hide out the content of the layer as it is demonstrated next image. Try to get the same result it is shown on the picture.
Create a new layer again, use the Soft Round brush to paint the canvas with #A10004 color (brush Opacity – 20%).
Set Fill to 40% for this layer.

Start representing the small heart, choose the Pen Tool (P), set the drawing mode on Shape Layers in Options bar and draw the next shape as shown, use the Convert Point Tool to correct the heart’s shape.
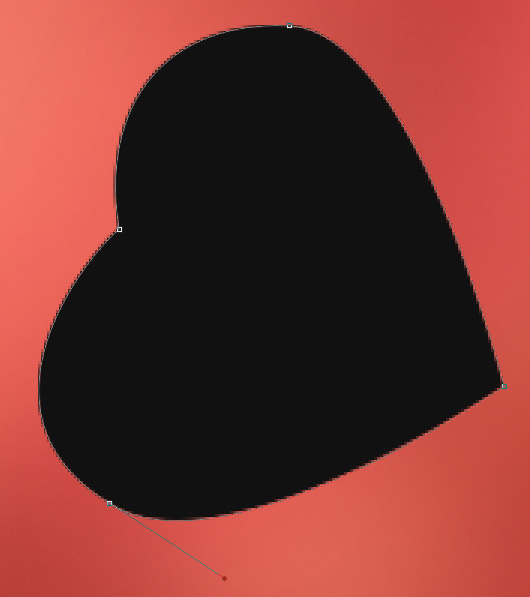
We’ve got the next result:

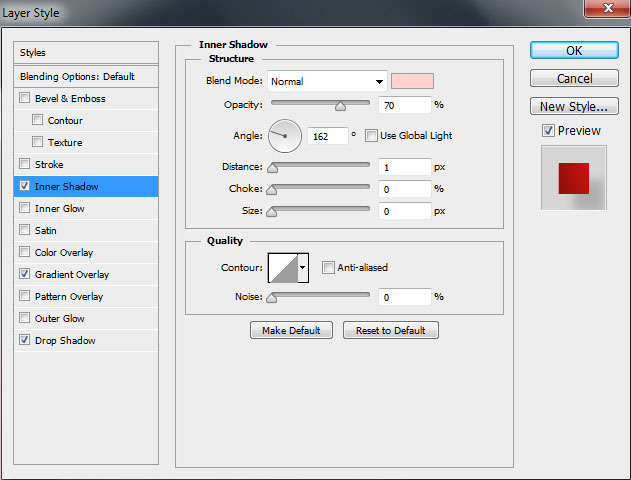
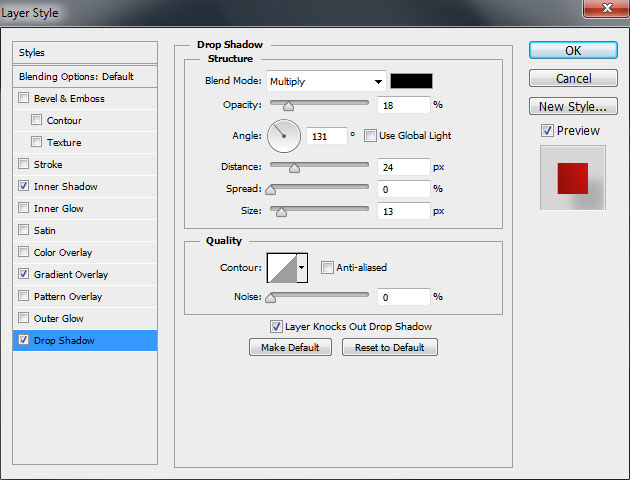
Click on Add a layer style icon from bottom part of the Layers panel and select Inner Shadow.
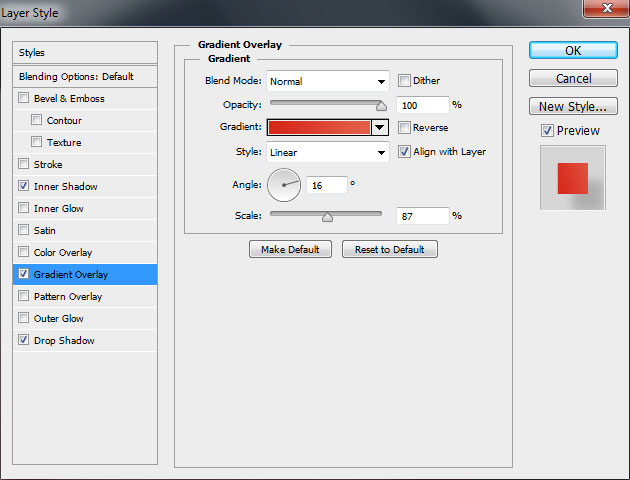
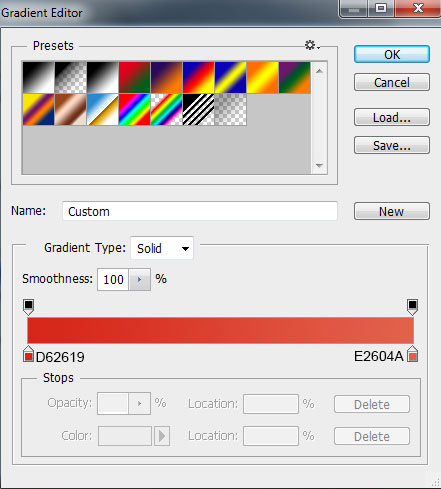
Apple Gradient Overlay:
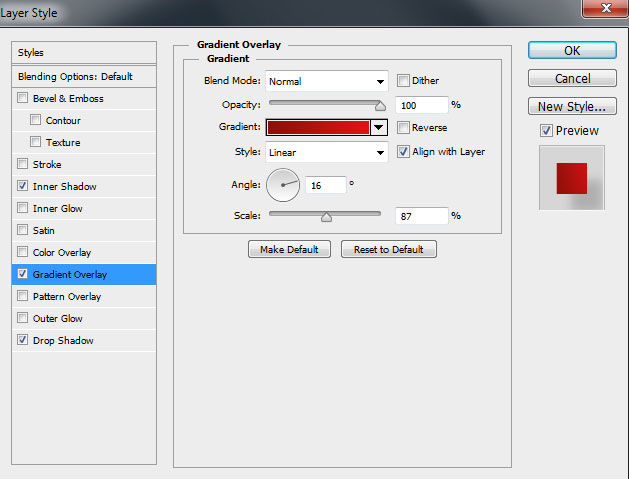
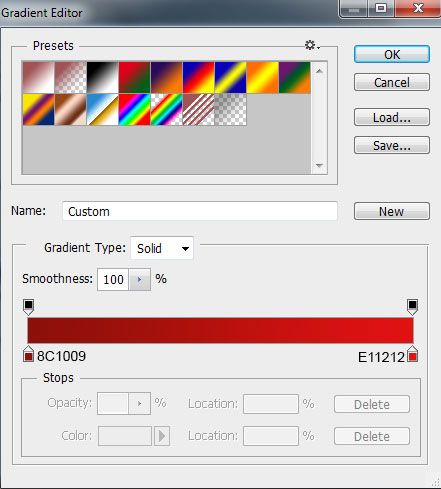
Click in the color bar to open the Gradient Editor and set the color stops as shown. Click OK to close the Gradient Editor dialog box.
Add Drop Shadow:
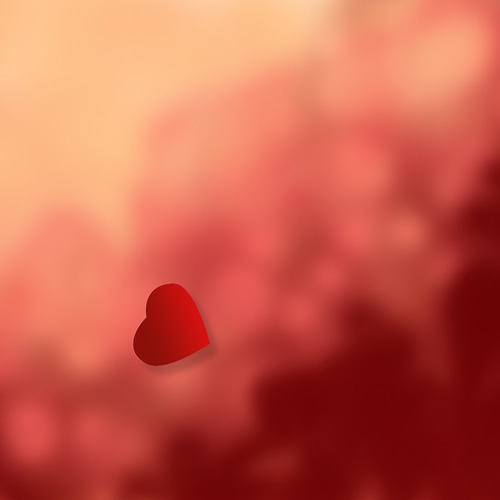
We’ve got the next result:
Make a copy of the last made layer containing the heart and select the Free Transform (Ctrl+T) command to displace the copy’s layer, making it smaller in the same time and inclining it as it is represented on the next image. Change also on the copy the Gradient Overlay settings:
Click in the color bar to open the Gradient Editor and set the color stops as shown. Click OK to close the Gradient Editor dialog box.
We’ve got the next result:
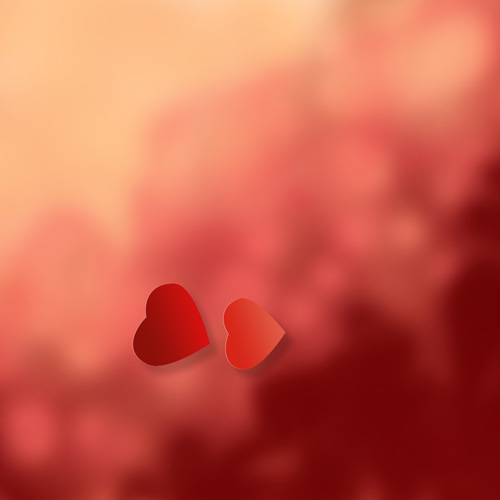
Next make many copies of the hearts’ layers and select the Free Transform (Ctrl+T) command to change the copies’ sizes, situating them the same way demonstrated on the next picture.

Combine in a group all the layers containing the hearts (press CTRL button to select the necessary layers in Layers panel and press CTRL+G to Create a new group).
Make a copy now of the created group (CTRL+J). The very first group needs then to be hiden in Layers panel. The group’s copy will be rasterized (firstly select the group and only after that press CTRL+E to Merge Down).
Choose for the rasterized layer the next filter Filter > Blur > Gaussian blur:
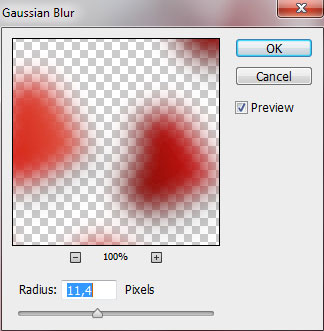
We’ve got the next result:
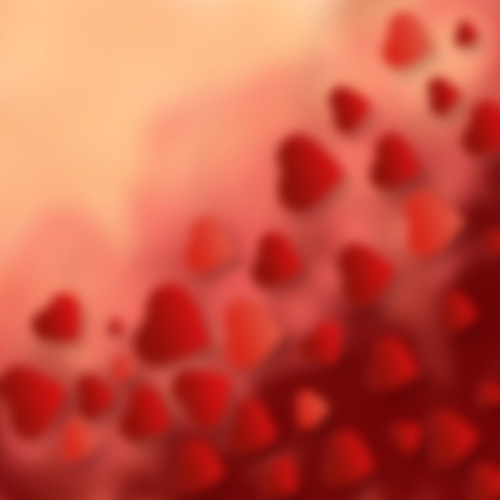
Make a copy of the layer containing the gaussian blur. Using the Free Transform (Ctrl+T) command, we may turn over the copy on 90 degrees to the left and then turn it around by horizontal position, leaving it down a little.
The earlier hiden group must be situated above all the layers and click on ‘eye’ icon from Layers panel to show it again. Choose after that the Free Transform (Ctrl+T) command on each heart to change their sizes and inclining position as on the picture it is represented.

Create a new layer and select the Soft Round brush to paint above the hearts.

The brush’s color is #FE7600 (brush Opacity – 10%).

Set Fill to 62% for this layer and change the Blending mode to Overlay.

Use the Polygon Tool (U) to represent a hexagon of white color, set Sides to 6 in Options bar.

We’ve got the next result:


Set Fill to 18% for hexagon layer and change the Blending mode to Overlay.

Make many copies of the last made layer and select the Free Transform (Ctrl+T) command to change the copies’ sizes, placing theme the way from the next picture. On the copies’ sizes we must apply a different Fill value, getting the effect for the same picture below.

Put together the layers containing the hexagons in a single group (press Ctrl button when select the corresponding layers in Layers panel and press CTRL+G to Create a new group). Merge down the group in a single rasterized layer (select the group firstly and then press CTRL+E).
On the rasterzied layer we’ll apply the next filter Filter > Blur > Gaussian blur:

We’ve got the next result:

Insert the mask on the same layer by choosing Add layer mask on the bottom part of the Layers panel and choose the Soft Round brush of black color (set Opacity to 30% in Options bar).

Paint in the mask to hide out the hexagons the same way from the next picture.

Make a copy of the recently represented layer removing the mask out of it and change on the copy’s layer the next filter Filter > Blur > Gaussian blur:

Using the Free Transform (Ctrl+T) command on the copy’s layer, place it the same way indicated on the picture.

Add layer maskon the layer the same way described earlier and choose the Soft Round brush of black color (brush Opacity – 20%)

Paint in the mask to hide out the layer content as it is represented on the next picture. Set the Blending mode for this layer to Overlay.

Create a new layer and choose the Soft Round brush of white color.

Use this brush to create many dots as it is represented below. Apply the brush of different sizes and a different Opacity value.

Insert the mask on the layer by choosing Add layer mask on the bottom part of the Layers panel and choose the Soft Round brush of black color (set Opacity to 15% in Options bar).

Paint in the mask to change the visibility of the dots as it is shown on the next picture. Set the Blending mode for this layer to Overlay.

Next step we’ll download set of brushes for Adobe Photoshop, named: Star Brushes by DemosthenesVoice . I would like to thank the author of these brushes, or if you prefer, you can substitute similar brushes of your own.
Copy the brushes file to C:\Program Files\Adobe\Adobe Photoshop X\Presets\Brushes folder (Adobe Photoshop X been your version of Photoshop). Little tutorial to explain how to load new brushes here.
Create a new layer, go to Brush Tool (B) and load the downloaded brushes, select the next brush:

Use this brush to draw many small stars of white color to get the picture from next image.

Set the Blending mode for this layer to Overlay.

Make a copy of the earlier represented layer containing the stars and apply on the copy’s layer Fill to 50%, set the Blending mode for this layer to Overlay.

Create a new layer and select the brush out of the earlier downloaded set of brushes to represent more stars of white color too.

Combine in a group all the layers containing the stars (press CTRL button to select the necessary layers in Layers panel and press CTRL+G to Create a new group.
Insert the mask on the stars group by choosing Add layer mask on the bottom part of the Layers panel and choose the Soft Round brush of black color (set Opacity to 15% in Options bar).

Paint in the mask to change the visibility of the stars’ group as it is represented on the next picture.

Next we’ll create a new layer again and select the brush early mentioned to paint above the hearts as it is shown next image. The brush’s color is #00F695 (brush Opacity – 20%).

Set the Blending mode for this layer to Overlay.

Put together all the layers in a single rasterized layer (press Ctrl button to select the layers we need in Layers panel and press CTRL+E to Merge Down).
Make a copy of the rasterzied layer we’ve got. On the very first rasterzied layer apply the next filter Filter > Sharpen > Unsharp mask:

We’ve got the next result:

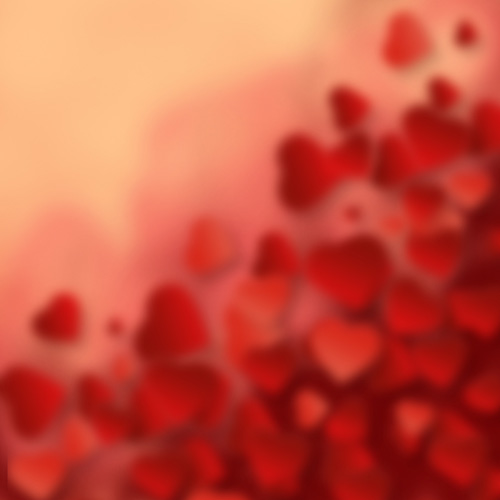
On the second rasterzied layer we’ll apply: Filter > Blur > Gaussian blur.

We’ve got the next result:

Set Fill to 7% for this layer and change the Blending mode to Linear Dodge.

Our Amazing Valentine’s Day Background with Abstract Hearts is finished!
Happy Valentine’s Day!
No comments:
Post a Comment